Rename the new layer to B & W, make sure the B & W layer is selected and press (Ctrl+Shift+U) or click Image > Adjustments > Desaturate, now you should have two layers, one of them is colored and the other is B & W.
With the B & W layer selected, click Filters > Others > High Pass and change the Radius value if necessary (3.4 pixels here).
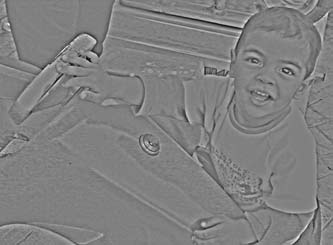
Click Image > Adjustments > Threshold and move the threshold level slider until you get the amount of details that you like (123 here).

Choose the B & W layer and change the Opacity value (the value at the top of the layers window) to 66%.
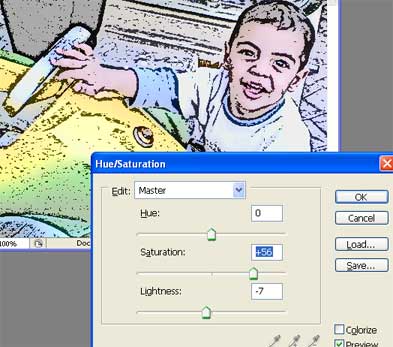
Choose the Background layer and Click "Create new fill or adjustment layer" (located at the bottom of the layers window) and choose "Hue and Saturation..." and add more saturation to give your work more comics art look (56 here) also adjust Lightness if necessary.
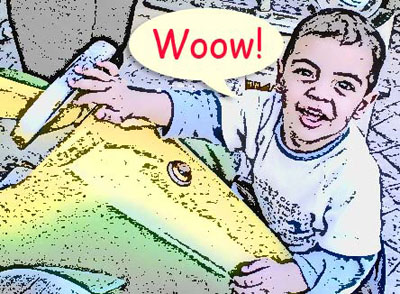
Click Shape tool (U) many times until you get Custom Shape Tool and choose "Talk 1" shape, adjust the shape and change its color as you like.
Click Horizontal Type Tool (T) and add any funny words you like.